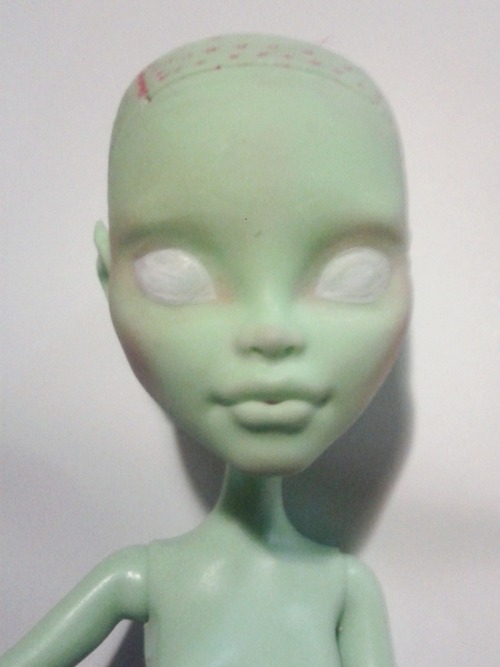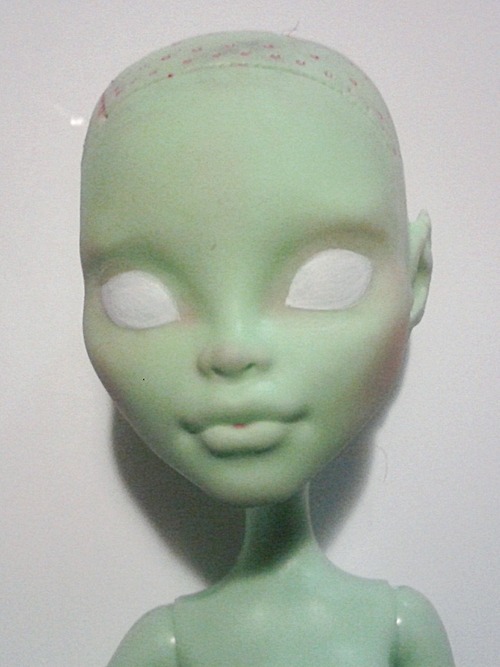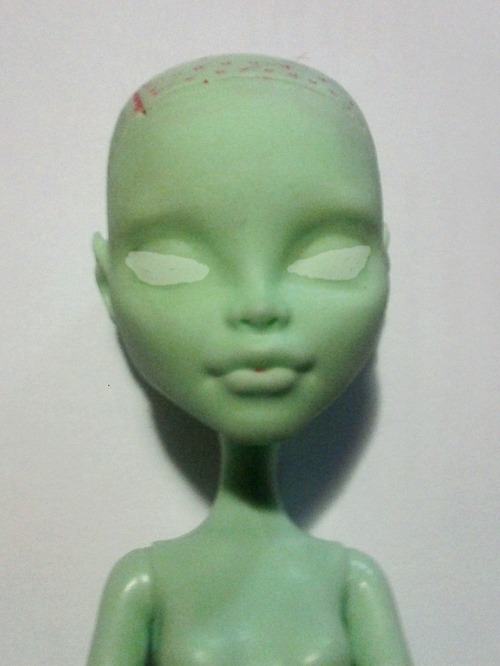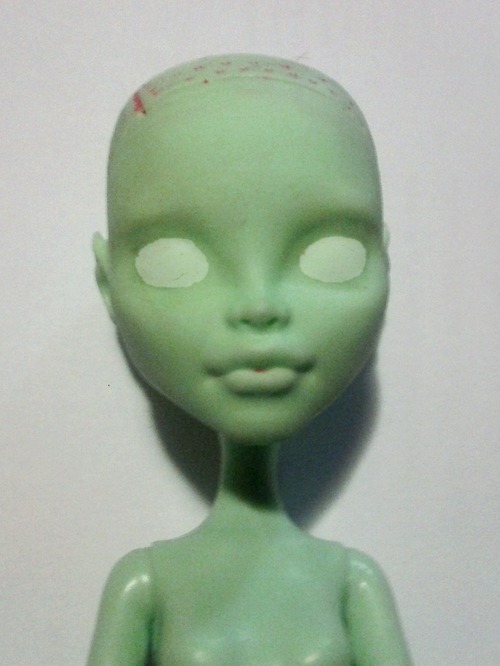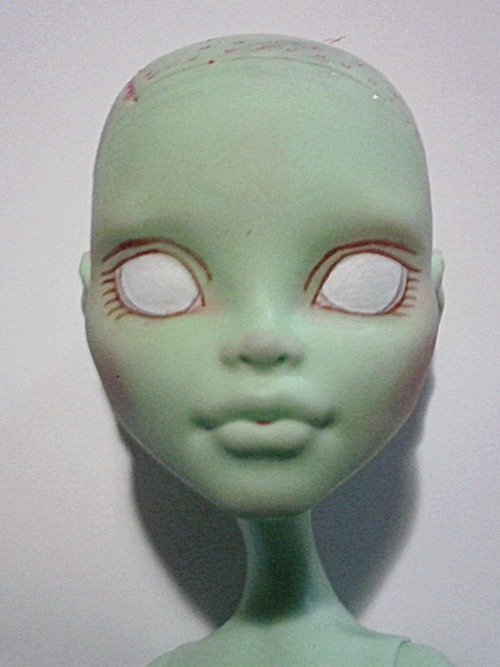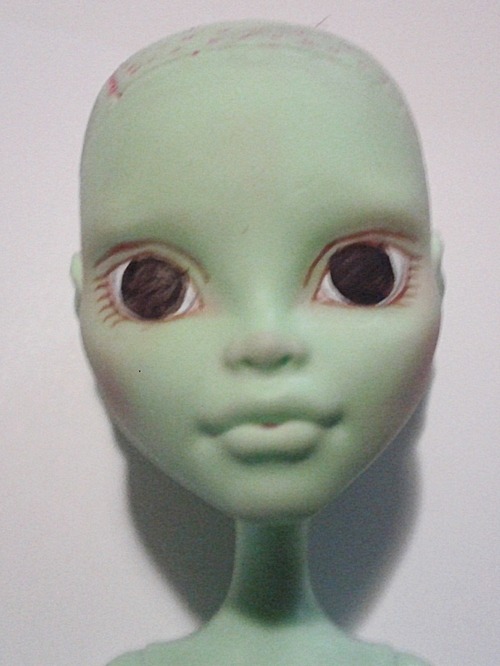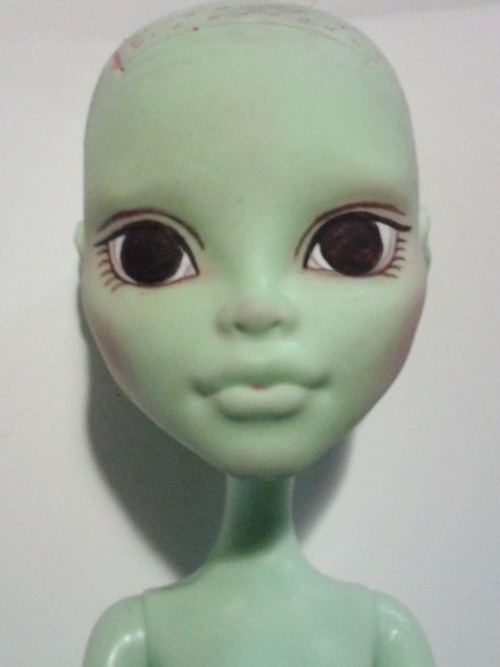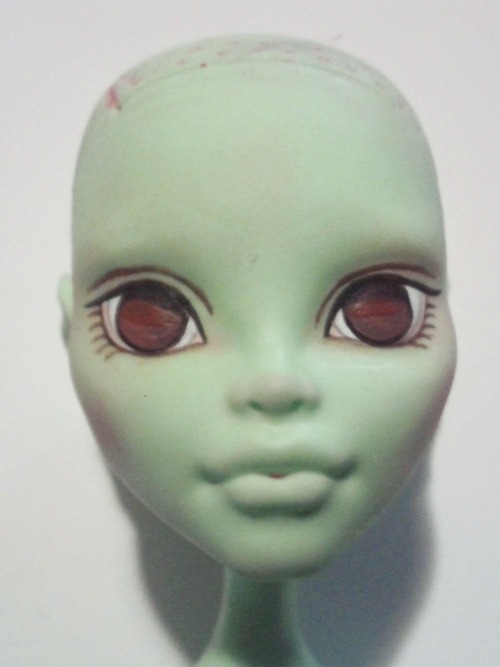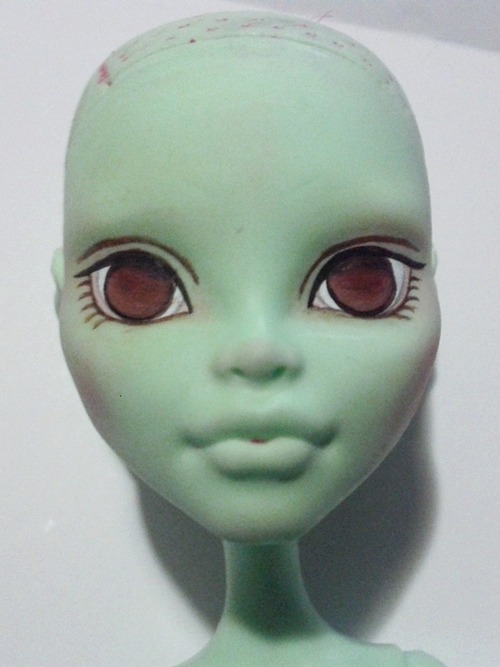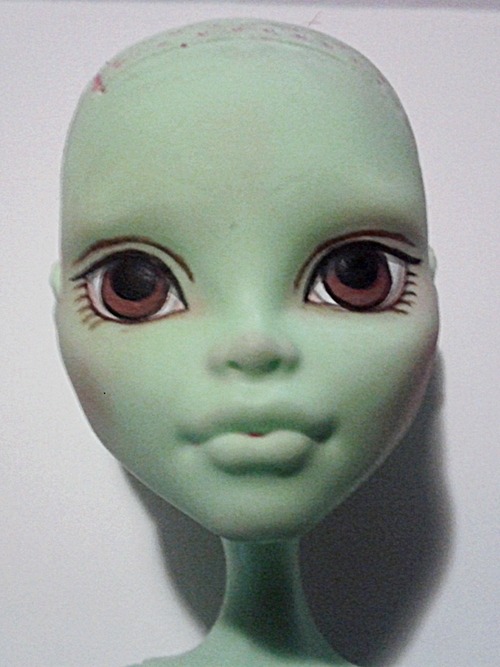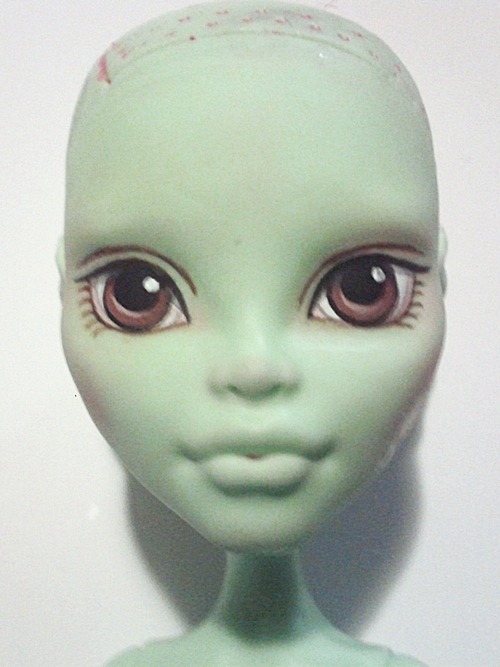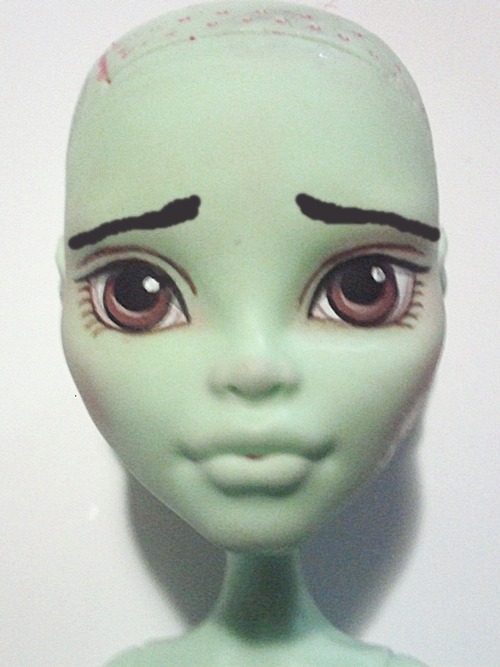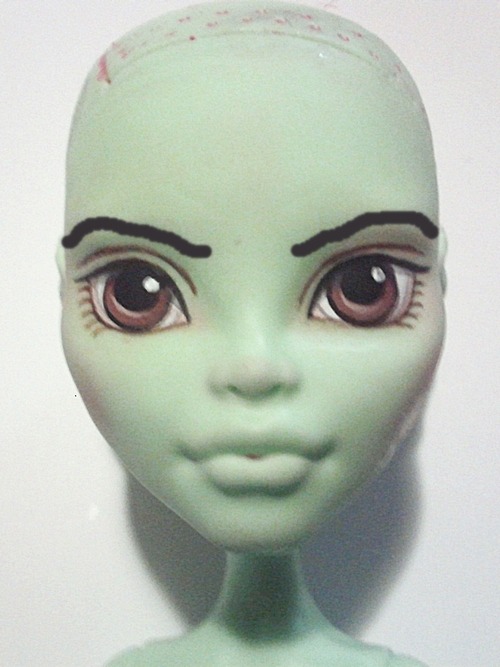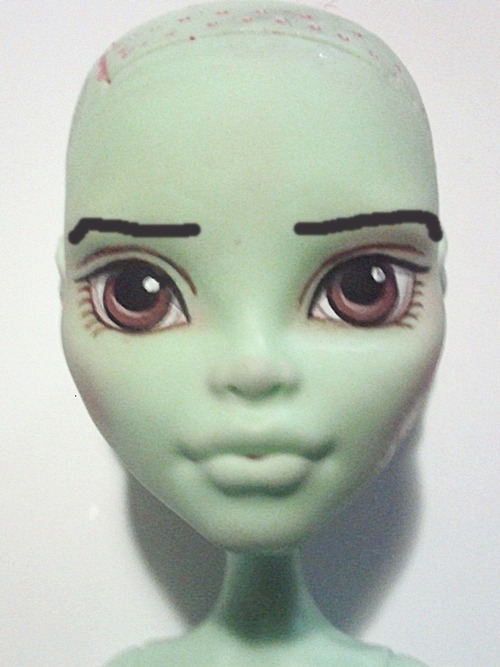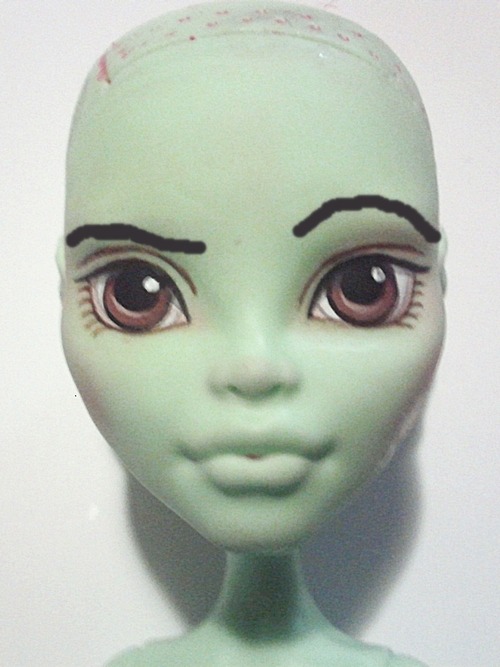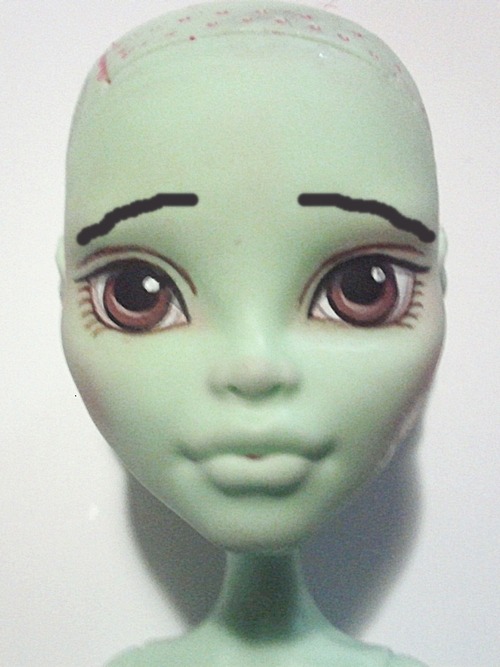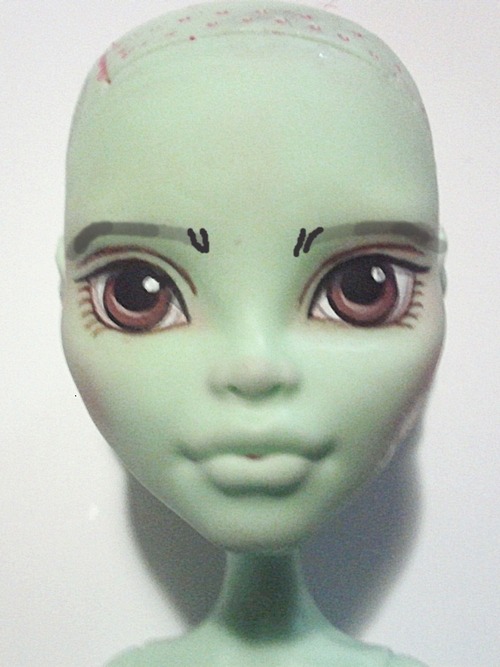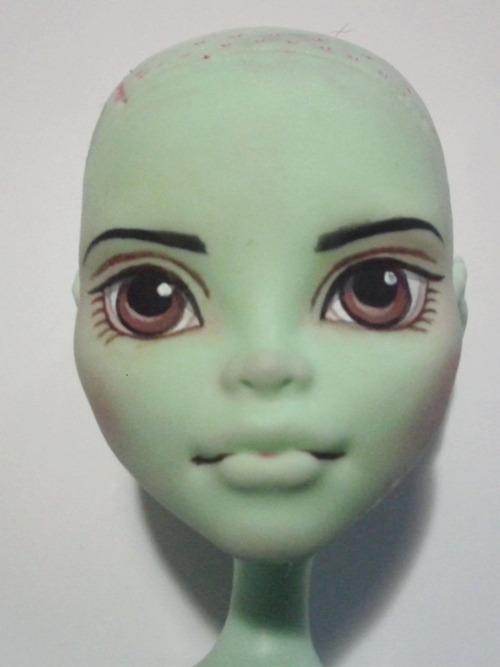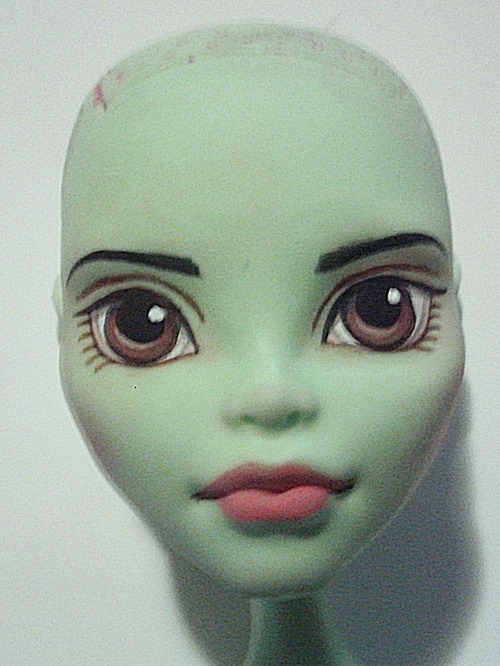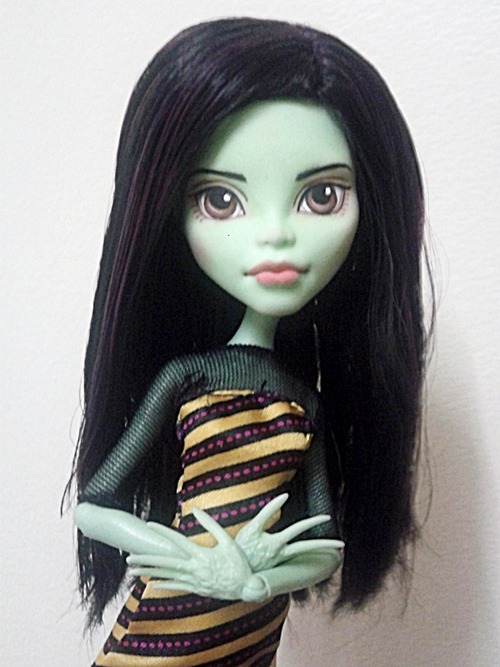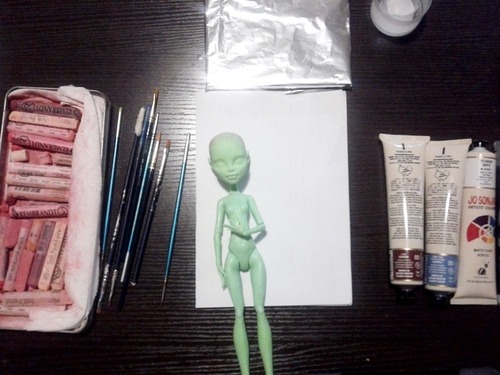
Supplies:
- Chalk Pastels The brand I use is Rembrant and Gallery by Mungyo. I would recommend getting four pastels. The colours I used was a light beige, a medium flesh, soft pink and a darker pink. You could probably get away with using a beige and a pink, but I like a bit of variation.
- ACRYLIC Paint. The brand I use is Jo Son Ja's Artist's Colours, but I've used MANY brands of acrylic paints ranging from super cheap to super expensive. The paint that is more expensive will have more pigment in it, so you don't need to layer paint as much, but if you're starting out, a cheaper paint will do just fine. Do not use nail polish, enamel or oil paint. These will react badly with the vinyl and either stain, never dry, chip badly or all the above.
- Paint brushes/makeup brushes. I say make up brushes for blushing, however the set I got was from the $2 store and they've held up since I don't soak them in water. For painting I recommend sinking money into fine detail brushes as they hold up to being used and cleaned more, they 'grip' the paint much better than cheaper brushes. Also the more finer the brush tip which is pretty important. This is the one area I do not recommend cheaping out on.
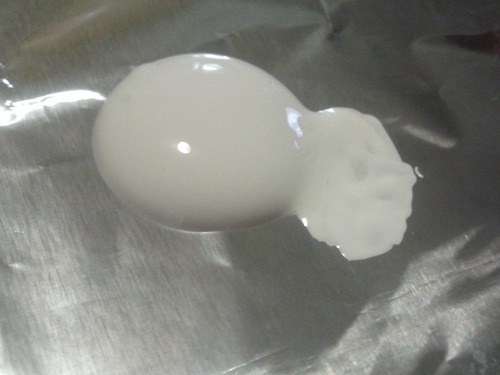
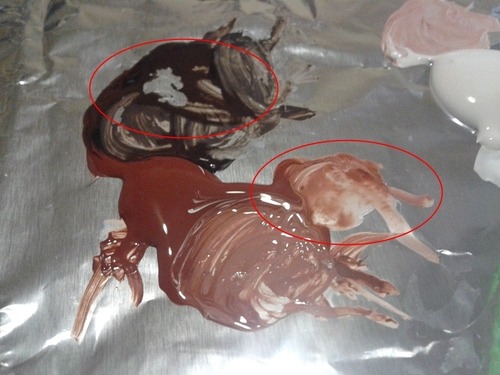
- A palette. Since I'm cheap and lazy I use a CD case covered in foil. This means when I'm done with the paints i don't need to clean it I just take out the foil and chuck it out. Don't use paper as it soaks paint too quickly.
- A piece of paper for pastels. This can be any scrap paper. Recycle because it saves money and the environment.
- Water. You'll be using it a lot.
- A paper towel to clean your brush between paints
- Sealer. I recommend MSC, but brush on acrylic sealer can be decent for just painted parts. Matte sealer will dry slightly shiny so don't use it to seal your blushing.
Step 1: To prep your doll, remove make up using acetone based nail polish remover, paint brush cleaner, Magic Erasers or pure acetone. Wash your doll to remove everything and pat it dry. If your doll has hair, STYLE the hair first or at least boil it to lay wear you want it, including fringes. This will make it easier to style it afterwards to your liking. Then wrap the hair in clear food wrap/saran wrap/cling wrap. To protect the hairline use masking tape.
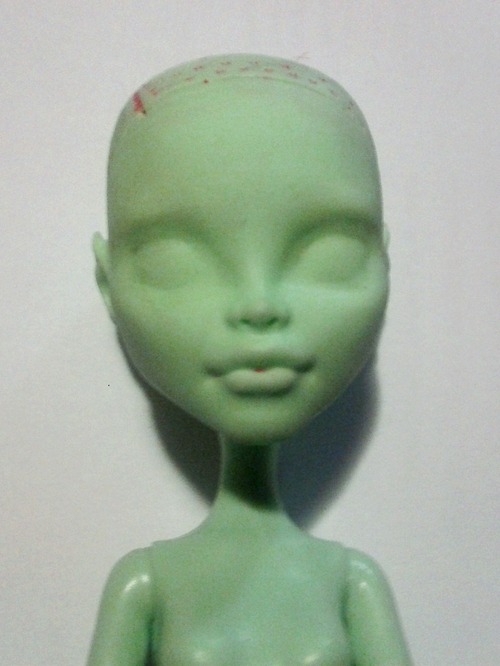
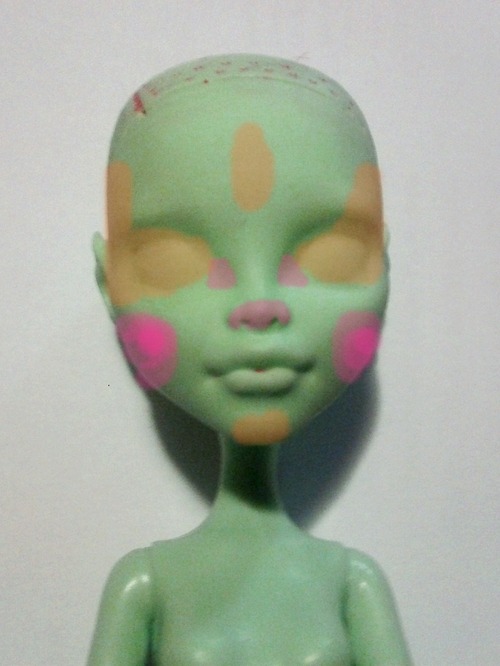
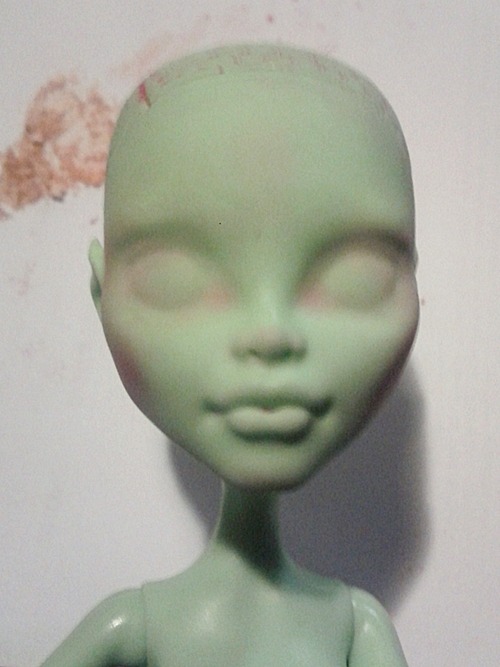
Step 2: I blush my dolls FIRST then paint afterwards as I find pastels get into the paint and it's hard to get it out. These are the shades I used with my pastels. For a more fantasy coloured doll that you don't want pink tones on, something that matches the skin tone for the beige colours and the colour of what you want the blush to be for the pinks.
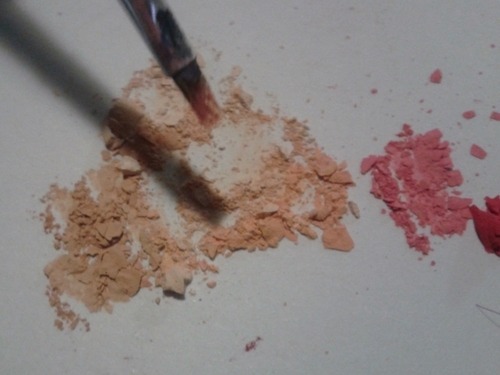
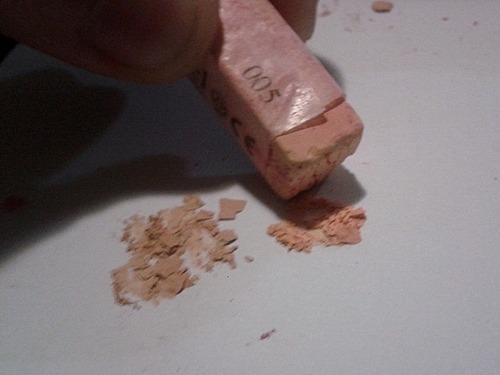
To start with, crush the pastels into a fine dust by grinding the tip into the paper. If it breaks off unevenly, crush with a toothpick. Some people have trouble with this so if you are, rub the pastel on some coarse sandpaper, as this makes it easier to turn it into dust.
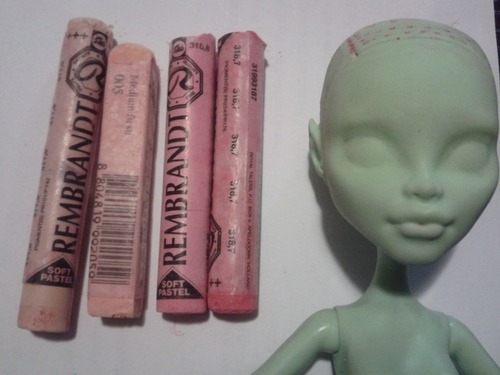
Step 3: I usually mix my pastels to give a variance of colour. This always seem nicer than using the pastel straight, but it's not required to mix them.
